先從專案連結開始
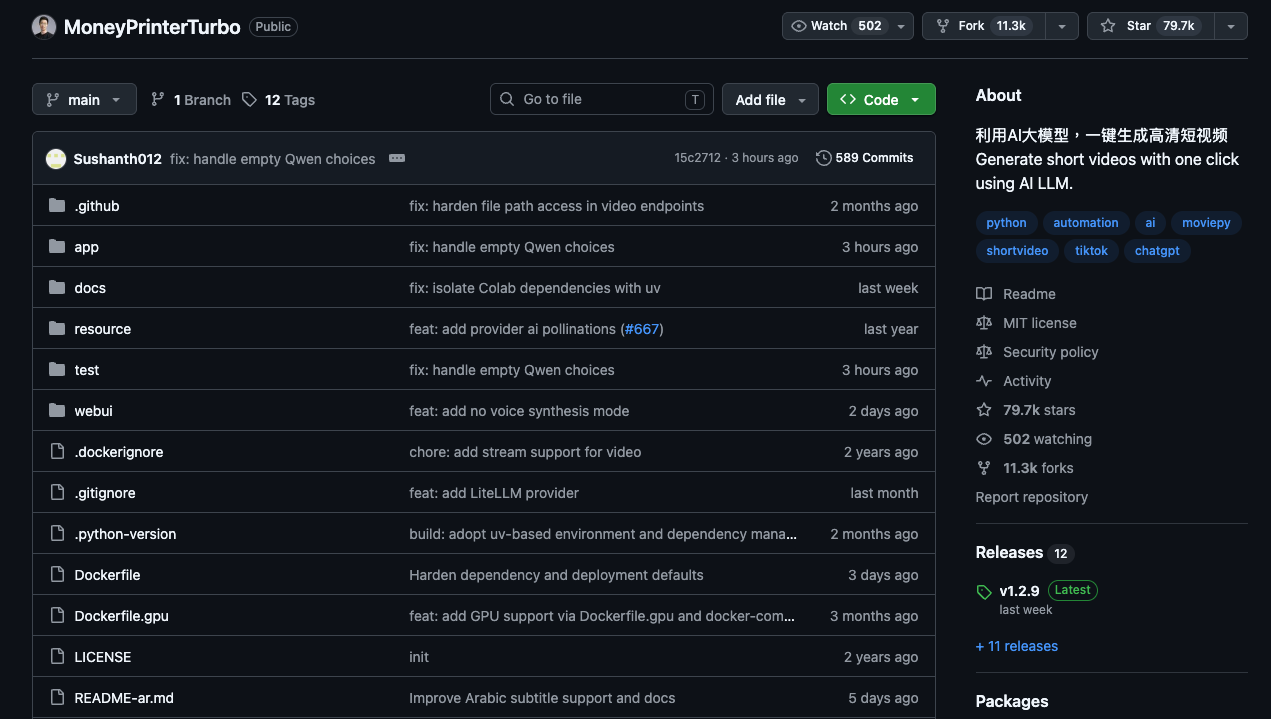
MoneyPrinterTurbo 是一個開源 AI 影片生成器。你給它一個主題,它可以產生文案、抓影片素材、生成配音與字幕,最後輸出短影片。
它是什麼
MoneyPrinterTurbo 是一個可以本地運行的開源短影片生成工具,用一個主題或 keyword 產生影片。
它的核心很簡單:輸入主題,輸出影片。它可以幫你產生文案、抓素材、生成配音、加字幕、加背景音樂,最後輸出成品。
我的誠實看法:不要期待它一鍵生成完美爆款。它真正有用的地方是幫你跳過空白 timeline,先拿到一個可以修改的初稿。
請 AI agent 幫你安裝
如果你有 Claude Code、Codex、Cursor 或其他 coding agent,最簡單的方法其實是直接叫 agent 幫你裝。把下面這段貼到一個空資料夾裡的 agent:
Help me install MoneyPrinterTurbo locally.

Use the official repo:
https://github.com/harry0703/MoneyPrinterTurbo

First inspect the README and choose the safest setup path for my machine.

Prefer Docker Compose if Docker is installed. Otherwise use Python 3.11 with a virtual environment.

Clone the repo, install dependencies, copy config.example.toml to config.toml, and tell me exactly where I need to paste API keys.

Do not hardcode or print my API keys.

Launch the WebUI and verify it opens in the browser.

At the end, summarize the exact commands used and the local URL I should open.
概念跟叫 agent 幫你裝任何開發工具一樣:讓它檢查你的電腦、跑指令,遇到 API key 這種秘密資訊再停下來請你自己填。
手動安裝
如果你想自己手動裝,先從官方 repo 開始。
$ git clone https://github.com/harry0703/MoneyPrinterTurbo.git
$ cd MoneyPrinterTurbo
如果你已經有 Docker Desktop,Docker 通常是最乾淨的安裝方式。
$ docker compose up
接著用瀏覽器打開 WebUI。如果 0.0.0.0 打不開,就試 127.0.0.1。
http://0.0.0.0:8501http://127.0.0.1:8501
也可以用 Python 手動安裝,但要處理的環境細節比較多。
$ conda create -n MoneyPrinterTurbo python=3.11
$ conda activate MoneyPrinterTurbo
$ pip install -r requirements.txt
$ sh webui.sh
生成影片前,記得把 config.example.toml 複製成 config.toml,再填 LLM provider 和素材 API key。
設定 WebUI
WebUI 第一眼看起來很多欄位,但第一次跑其實只需要設定幾個地方。
Basic settings:
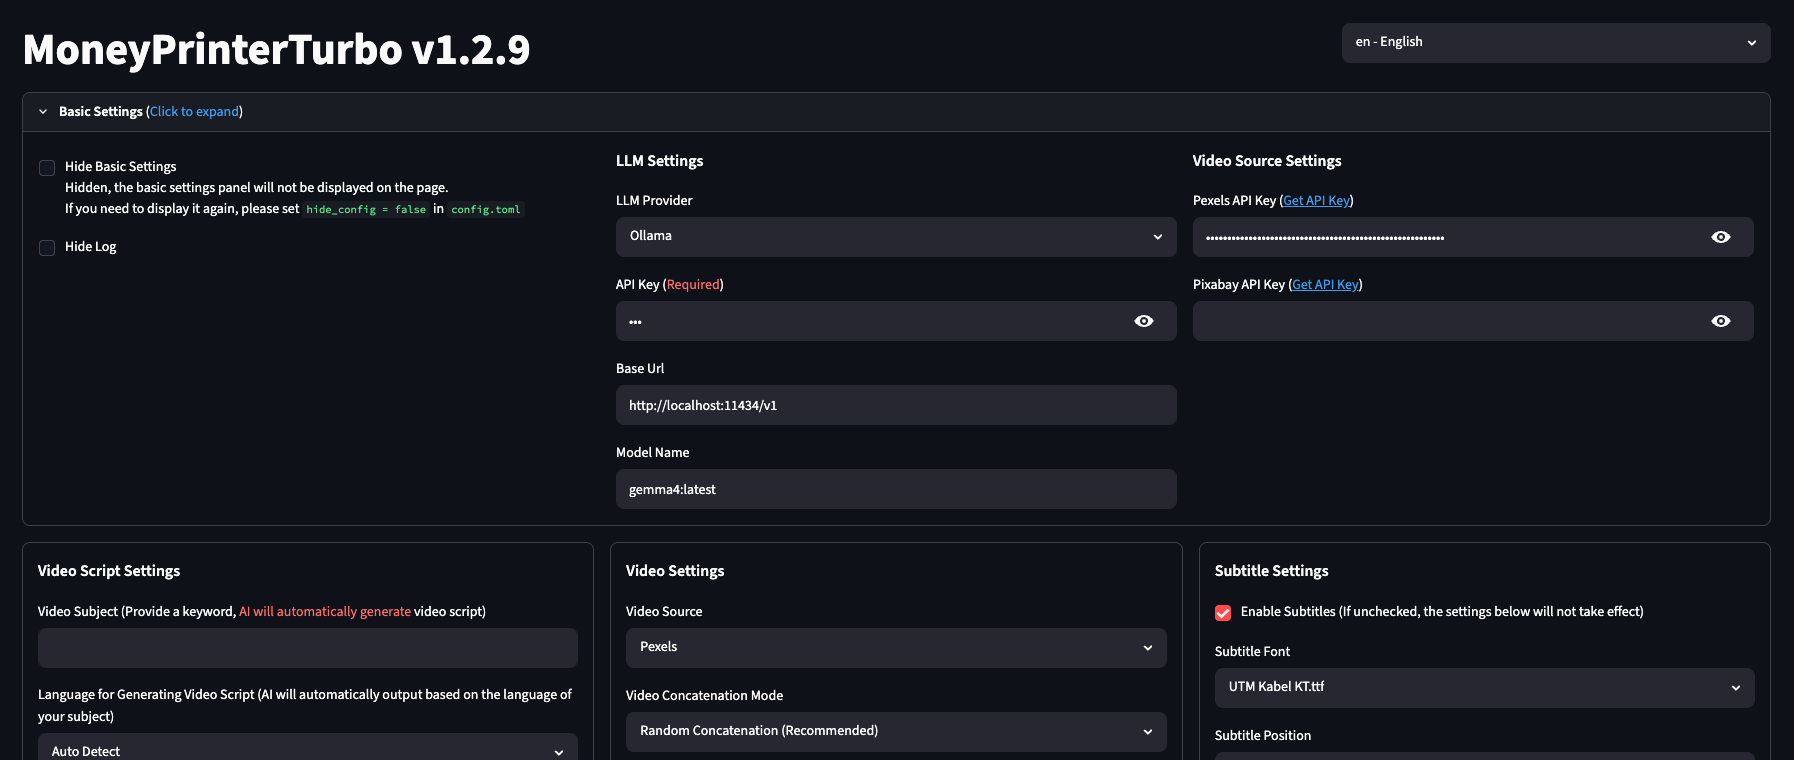
- LLM Provider:選你的模型來源。如果用 Ollama,Base URL 通常是
http://localhost:11434/v1,Model Name 填本地模型名稱。 - API Key:雲端模型通常需要。Ollama 本地模型視設定而定,常常可以填 placeholder。
- Pexels API Key:如果要讓工具從 Pexels 抓 stock video,就要填這個。
- Pixabay API Key:可選,當作另一個素材來源。
Video script settings:
- Video Subject:填你的主題或 keyword,這是最重要的欄位。
- Language:主題很明確的話可以先用 Auto Detect。
- AI generate script:想讓工具自動寫文案就按這個。
- Video Script:如果你想自己控制文案,就把腳本貼在這裡。
Video and subtitle settings:
- Video Source:Pexels 是不錯的預設選項。
- Video Aspect Ratio:Shorts / Reels / TikTok 用 Portrait 9:16。
- Maximum Duration of Video Clips:短影音節奏可以先用 3 秒。
- Enable Subtitles:社群短影片建議開著。
- Subtitle Position:Bottom 通常最安全。
生成第一版初稿
第一次測試,主題要簡單、具體。
5 AI tools that help creators save 10 hours per week
第一次建議設定:
- Aspect ratio:Portrait 9:16
- Video source:Pexels
- Clip duration:3 秒
- Number of videos generated simultaneously:1
- Subtitles:開啟
- Transition mode:第一次測試先用 none
先生成一支初稿就好。等你確定模型、素材來源、字幕都正常,再開始批量生成多個版本。
最推薦的用法
最推薦的用法不是一鍵生成後直接發布,而是把 MoneyPrinterTurbo 當成初稿機器。
- 先用主題生成一版初稿。
- 把 script 拿出來,重寫 hook。
- 替換不符合內容的素材。
- 整理字幕時間和樣式。
- 加上自己的 intro、反應或最後 callout。
- 最後用你平常的剪輯工具輸出成品。
這樣可以拿到自動化的速度,又保留你自己的判斷和品味。
常見問題
- WebUI 打開是空白:換 Chrome 或 Edge,再重新整理本機網址。
- 沒有素材:檢查 Pexels 或 Pixabay API key。
- LLM 報錯:確認 provider、base URL、model name 和 API key。
- Ollama 沒反應:確認 Ollama 有啟動,而且模型已經 pull 下來。
- 字幕不穩:先用
edgesubtitle provider,再嘗試 Whisper。 - Whisper model 下載很大:要預期幾 GB,安裝時間會比較久。
- 影片很普通:把它當初稿,重寫 hook 並替換弱素材。