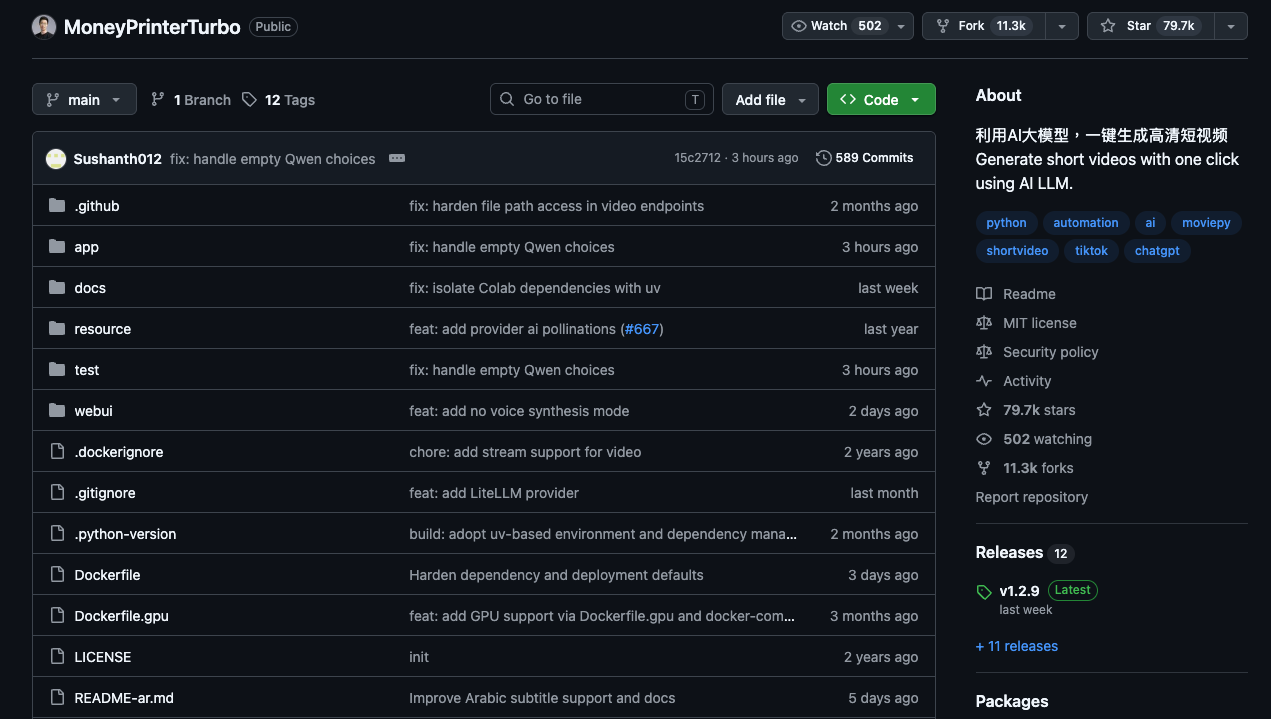
Start with the repo
MoneyPrinterTurbo is an open-source AI video generator. Give it a topic, and it can generate a script, collect video material, create voiceover and subtitles, then export a short video.
What it is
MoneyPrinterTurbo is a local/open-source tool for generating short videos from one topic or keyword.
The promise is simple: topic in, video out. It can generate the script, pull stock footage, create voiceover, add subtitles, add background music, and export the result.
My honest take: do not expect a perfect viral video on the first click. The real value is that it gets you past the blank timeline and gives you something to edit.
Ask an AI agent to install it
If you use Claude Code, Codex, Cursor, or another coding agent, the easiest path is to let the agent do the setup for you. Paste this into the agent inside an empty project folder:
Help me install MoneyPrinterTurbo locally.

Use the official repo:
https://github.com/harry0703/MoneyPrinterTurbo

First inspect the README and choose the safest setup path for my machine.

Prefer Docker Compose if Docker is installed. Otherwise use Python 3.11 with a virtual environment.

Clone the repo, install dependencies, copy config.example.toml to config.toml, and tell me exactly where I need to paste API keys.

Do not hardcode or print my API keys.

Launch the WebUI and verify it opens in the browser.

At the end, summarize the exact commands used and the local URL I should open.
This is the same idea as asking an agent to set up any developer tool: let it inspect your machine, run commands, and stop when it needs secrets from you.
Manual setup
If you want to do it yourself, start from the official repo.
$ git clone https://github.com/harry0703/MoneyPrinterTurbo.git
$ cd MoneyPrinterTurbo
The Docker path is usually the cleanest if Docker Desktop is already installed.
$ docker compose up
Then open the WebUI in your browser. If 0.0.0.0 does not work in your browser, try 127.0.0.1.
http://0.0.0.0:8501http://127.0.0.1:8501
Manual Python setup is also available, but it has more moving parts.
$ conda create -n MoneyPrinterTurbo python=3.11
$ conda activate MoneyPrinterTurbo
$ pip install -r requirements.txt
$ sh webui.sh
Before generating videos, copy config.example.toml to config.toml, then fill in your LLM provider and stock-video API keys.
Configure the WebUI
The WebUI looks like a lot at first, but you only need a few parts for the first run.
Basic settings:
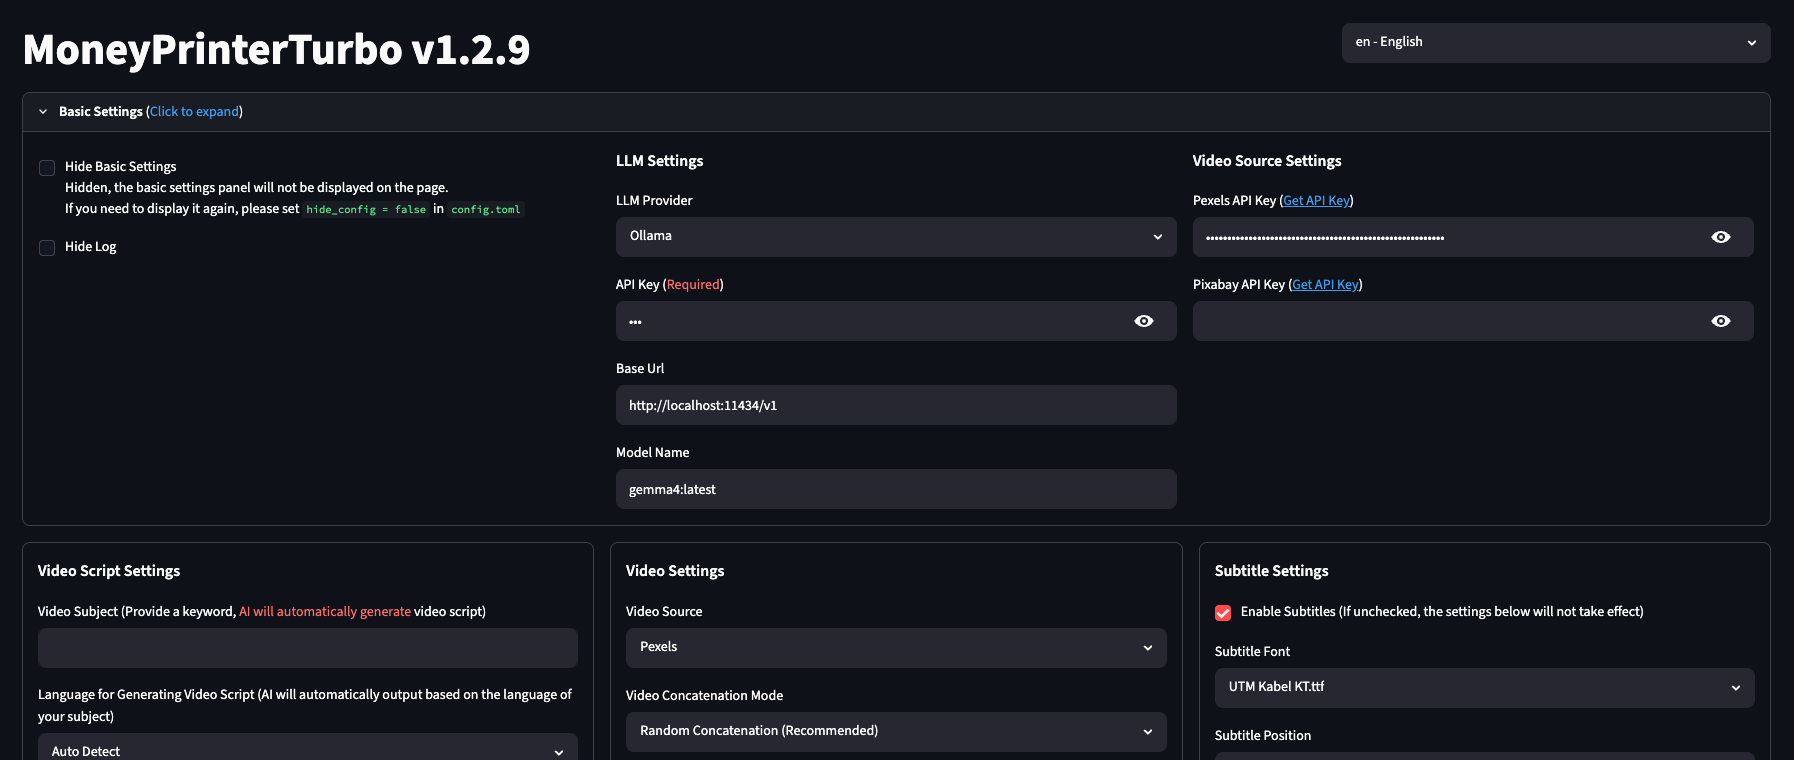
- LLM Provider: choose your model provider. If you use Ollama, set the base URL to
http://localhost:11434/v1and use your local model name. - API Key: required for cloud providers. For local Ollama, this can usually be a placeholder depending on your setup.
- Pexels API Key: add this if you want the tool to pull stock video clips from Pexels.
- Pixabay API Key: optional backup source if you use Pixabay.
Video script settings:
- Video Subject: type the topic or keyword. This is the most important field.
- Language: leave Auto Detect if your subject is clear.
- AI generate script: use this if you want the tool to write the script for you.
- Video Script: paste your own script here if you want more control.
Video and subtitle settings:
- Video Source: Pexels is a good default.
- Video Aspect Ratio: use Portrait 9:16 for Shorts/Reels/TikTok.
- Maximum Duration of Video Clips: 3 seconds is a good starting point for fast short-form pacing.
- Enable Subtitles: keep it on for social videos.
- Subtitle Position: bottom is usually safest.
Generate a first draft
For your first test, keep the topic simple and concrete.
5 AI tools that help creators save 10 hours per week
Recommended first-run settings:
- Aspect ratio: Portrait 9:16
- Video source: Pexels
- Clip duration: 3 seconds
- Number of videos generated simultaneously: 1
- Subtitles: enabled
- Transition mode: none for the first test
Generate one draft first. Do not batch-generate five versions until you know your model, footage source, and subtitle settings are working.
Best way to use it
The best workflow is not one-click publish. Use MoneyPrinterTurbo as a draft machine.
- Generate a draft from a topic.
- Copy the script out and rewrite the hook.
- Replace footage that does not match the message.
- Clean up subtitle timing and styling.
- Add your own intro, reaction, or final callout.
- Export the final version from your normal editor.
This gives you the speed of automation without surrendering the taste and judgment that make a short video actually work.
Common problems
- WebUI opens blank: try Chrome or Edge, then reload the local URL.
- No footage appears: check your Pexels or Pixabay API key.
- LLM errors: confirm your provider, base URL, model name, and API key.
- Ollama does not respond: make sure Ollama is running and the model has been pulled.
- Subtitles are unstable: start with the
edgesubtitle provider before trying Whisper. - Whisper model download is huge: expect several GB and a slower setup.
- The video feels generic: use it as a draft, then rewrite the hook and replace weak clips.