先看最後效果
這個流程會把一張畫好路徑的城市照片變成 FPV drone 風格影片。紅色路徑只是給鏡頭看的參考,最後影片不應該出現路線、箭頭或標記。
Drone_flight.mp4,由畫好路徑的 Tokyo 參考圖生成。流程總覽
概念很簡單:你把圖片當成鏡頭地圖,在上面畫出攝影機要飛的路徑,再告訴 Google Flow 這些紅線只是移動參考,不可以出現在最後影片裡。
- 先準備一張乾淨的 reference photo。
- 在上面畫出清楚的紅色路徑、箭頭和節點順序。
- 把畫好路徑的圖丟進 Google Flow。
- 使用 Flow Agent / Agent Mode,讓模型把圖片當成執行計畫。
- 貼上 prompt,明確區分「參考標記」和「最終畫面」。
- 生成 FPV 影片後,檢查它有沒有照 Node 1、Node 2、Node 3 的順序飛。
Step 1:準備參考照片
先從沒有路徑標記的乾淨圖片開始。這個例子使用的是 tokyo_raw.png。
建議選有明顯建築、空間深度清楚、看得出鏡頭可以穿越哪裡的照片。夜景城市很適合,因為燈光會讓速度感更強。
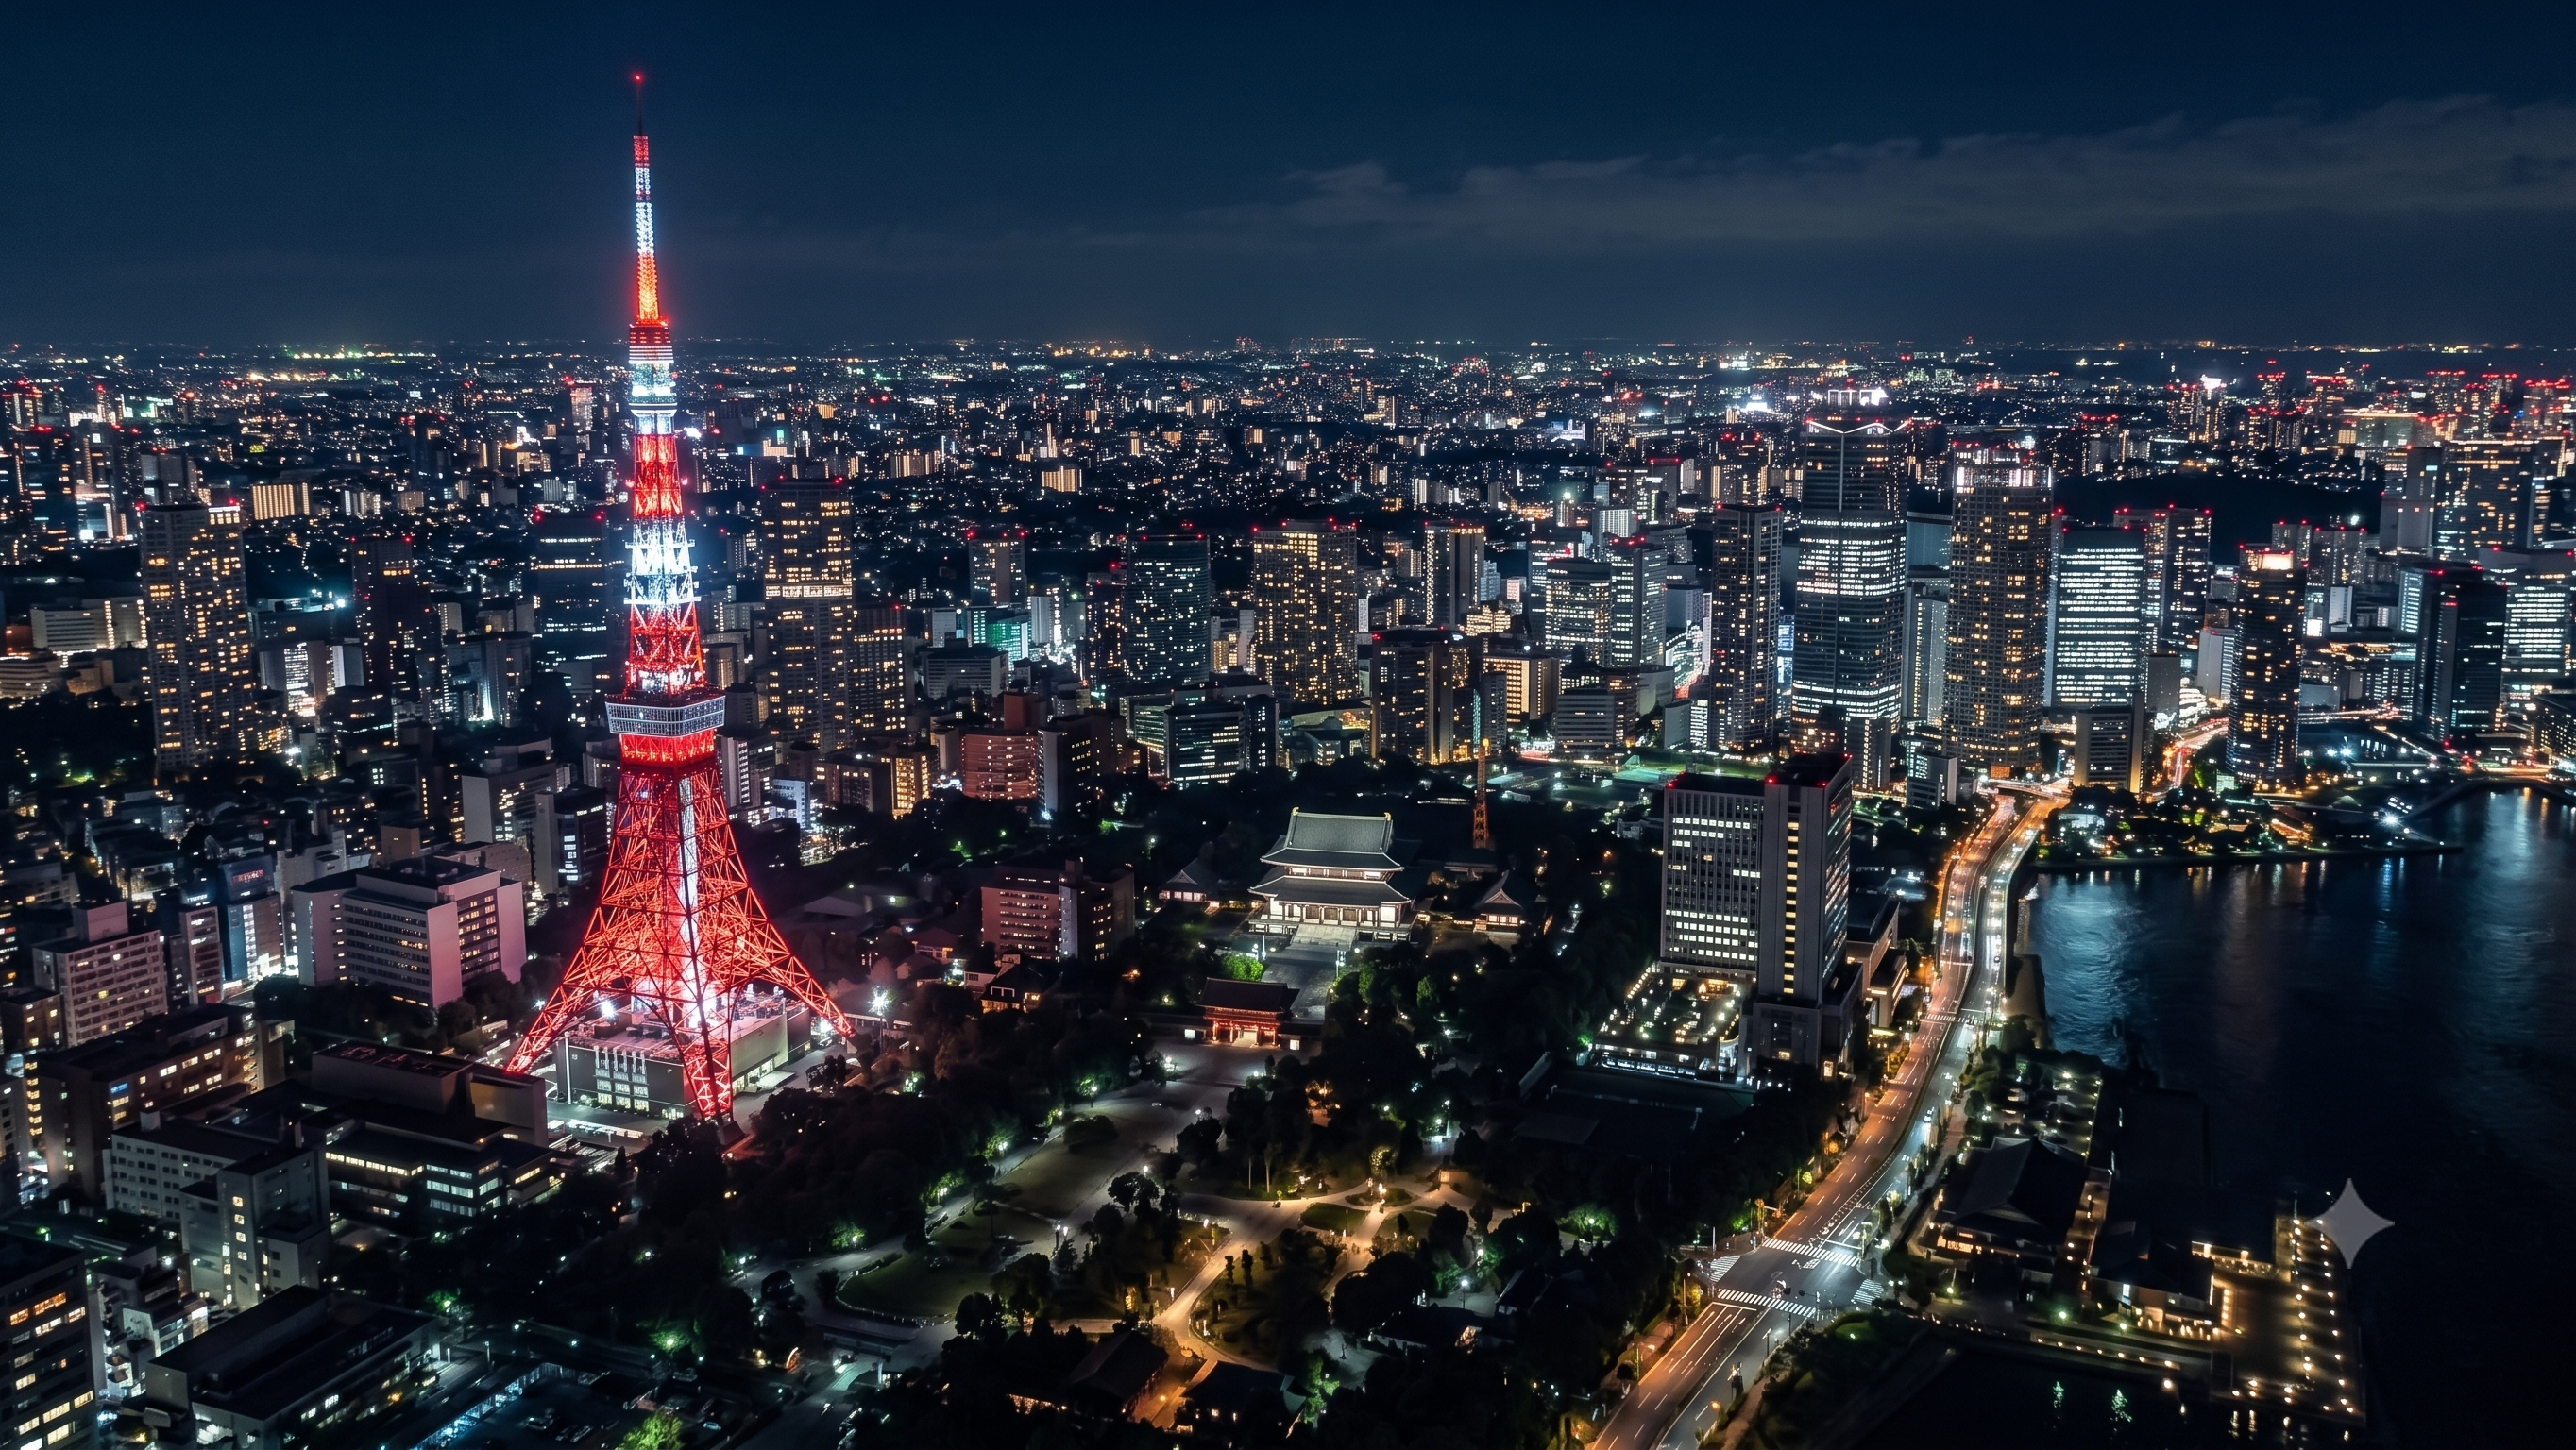
tokyo_raw.png:還沒畫路徑前的乾淨 reference image。Step 2:畫上飛行路徑
直接在 reference photo 上畫出鏡頭路徑。用紅色這種高對比顏色,加上箭頭,並用節點標出飛行順序。
這篇使用的路徑圖是 tokyo.png:它標示了鏡頭從 Node 1 到 Node 2,再到 Node 3 的方向。
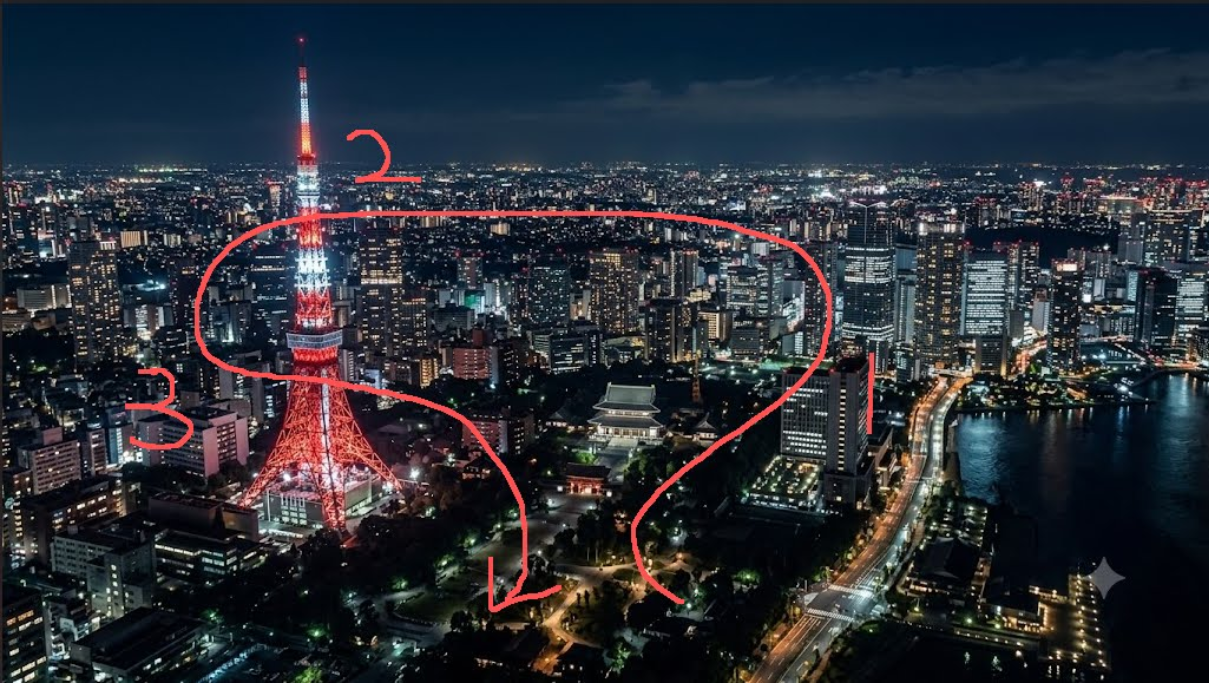
tokyo.png:紅色路線只是鏡頭移動參考,不應該出現在最後影片裡。- 使用模型容易辨識的高對比顏色。
- 路徑盡量連續,不要斷成太多不清楚的小段。
- 用箭頭標出方向。
- 路徑有多個轉折時,用 node label 標出順序。
- 路線不要太複雜,讓它像一鏡到底可以完成的動作。
Step 3:使用 Flow Agent Mode
打開 Google Flow,先上傳畫好路徑的圖片,然後使用 Flow Agent / Agent Mode。重點是讓 Flow 把這張圖理解成鏡頭計畫,而不是單純的視覺參考圖。
下面這段操作流程示範的是在 Google Flow 裡的設定過程。
flow.gif,這裡使用較輕的 MP4 版本,載入速度比較合理。- 把標好路徑的
tokyo.png當作 reference 上傳。 - 使用 Agent Mode,讓模型同時讀取圖片和 prompt 的指令。
- prompt 要集中在 camera movement、trajectory 和 negative constraints。
- 不要只靠圖片。prompt 一定要明確說紅線不是最終畫面的一部分。
Step 4:貼上 prompt
上傳路徑圖後,直接貼上這段 prompt。建議保留 section labels,因為這樣 Agent 比較容易理解每一段指令的用途。
Google Flow FPV Prompt
[Constraints]
Remove the red lines from the image. The red lines and arrows are only for camera movement reference; no red lines, arrows, or markers should appear in the final video.

[Camera Movement]
First-person FPV perspective, ultra-high-speed camera movement, cinematic, one-take / continuous shot. The camera must strictly follow the red path shown in the image without deviating, skipping, or simplifying the route. The architectural structures passed through must be clear, with realistic silhouettes and strong texture details.

[Trajectory]
The camera starts flying continuously through Node 1, Node 2, and Node 3 in sequential order, strictly following the direction of the arrows.

[Texture & Quality]
The visuals must be realistic, with smooth and stable motion, a strong sense of speed, and clear spatial continuity. No repeating buildings, no distortion, no text, and no watermarks.
最重要的是第一段 constraint。如果沒有明確寫,模型可能會把紅色路徑當成畫面中真的存在的物件,而不是隱藏的鏡頭參考。
Step 5:檢查輸出結果
生成後,你應該會得到像 Drone_flight.mp4 這樣的完整 FPV 飛行影片。
檢查輸出時看三件事:
- 最後影片有沒有完全移除紅線、箭頭、標記和 node label?
- 鏡頭有沒有清楚照 Node 1、Node 2、Node 3 的順序飛?
- 整段運鏡像不像一鏡到底的 FPV,而不是幾段不相關畫面硬接?
三個都成立,代表這次 route control 成功。
常見問題修正
- 最後影片出現紅線:加強第一段 constraint,明確寫
no red lines, no arrows, no labels, no markers。 - 鏡頭沒有照路徑飛:簡化路線、放大箭頭、讓 node label 更清楚。
- 影片像多段畫面跳接:強調
one-take / continuous shot和clear spatial continuity。 - 建築重複或變形:保留
no repeating buildings和no distortion。 - 速度感不夠:使用
ultra-high-speed camera movement和strong sense of speed。